Basic Ruckus switch configuration
In this example, we are going to configure a Ruckus ICX 7150-24.
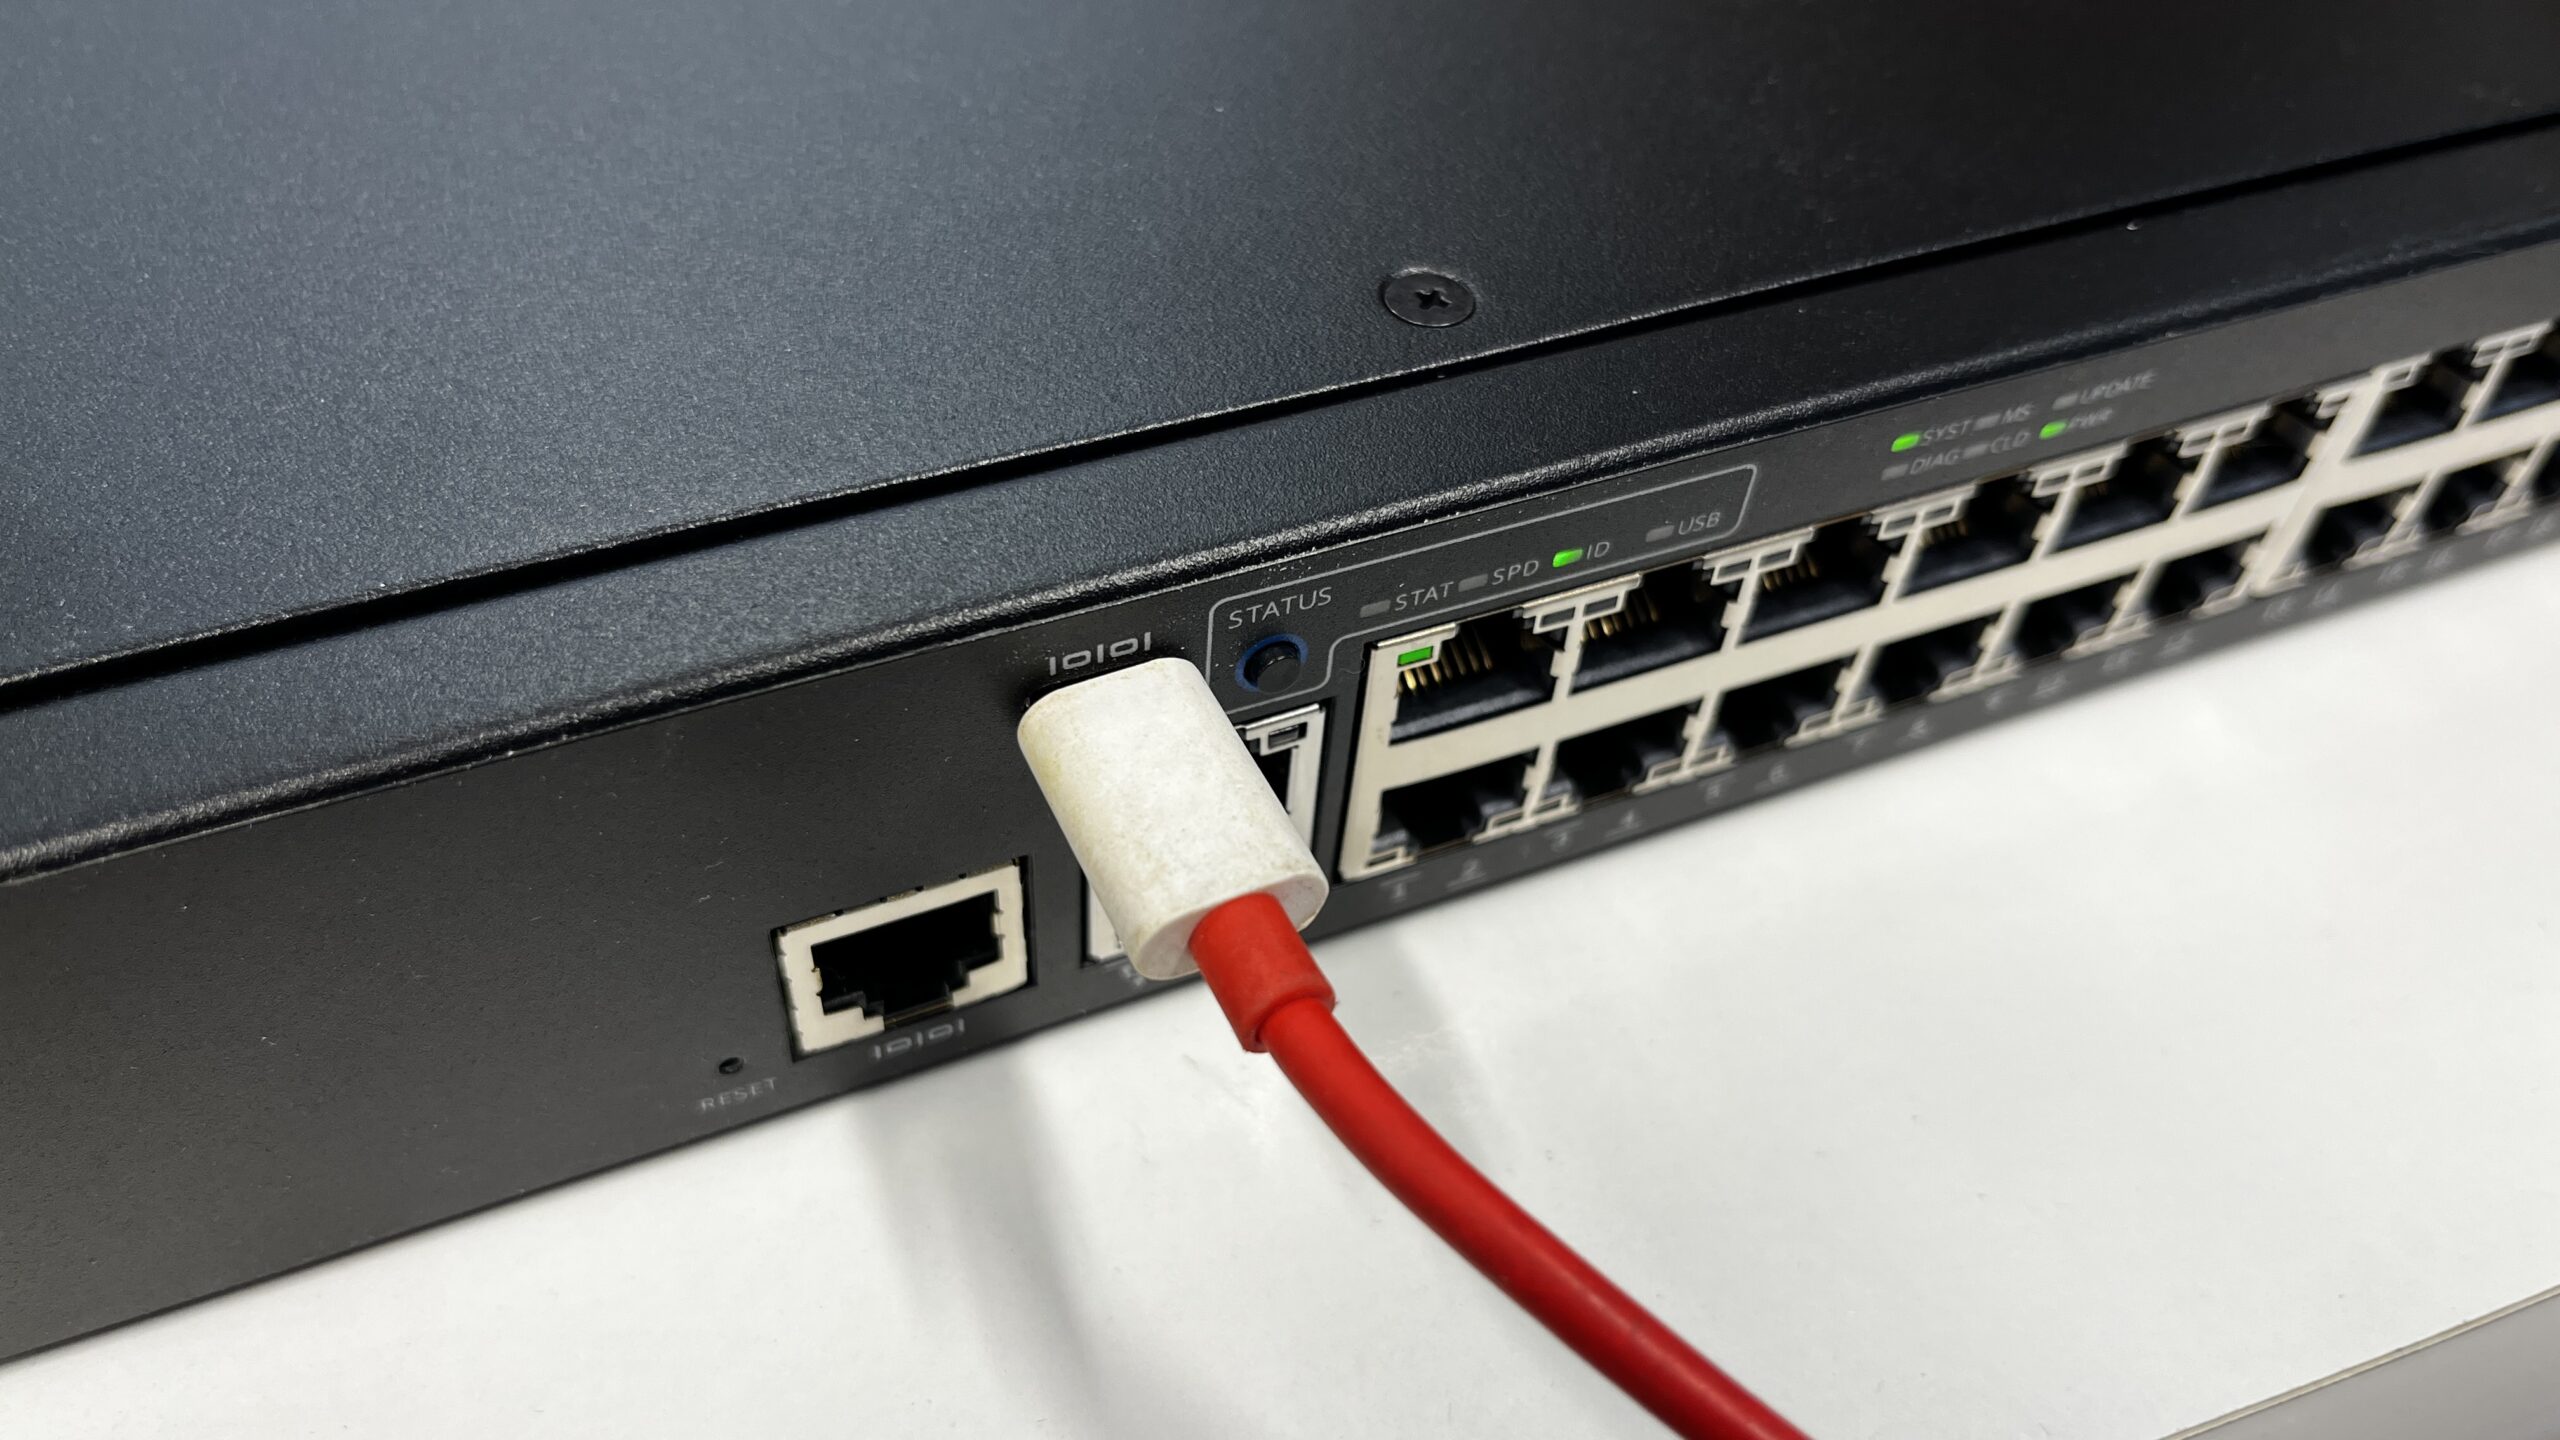
- Connect your computer to the switch with the console port
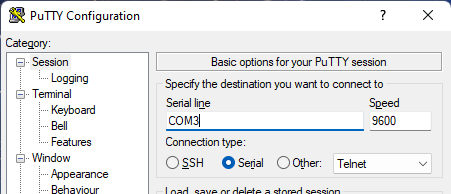
- Open Device Manager to look up the COM port number

- Open Putty and connect to the assigned COM port
- Login with the default username and password (super / sp-admin) and change the default password

- Configure the switch with default configuration
enable
conf t
ip address 192.168.1.1/24
ip default-gateway 192.168.1.254
ip dns server-address 192.168.1.10 192.168.1.11
hostname SW1
cdp run
lldp run
jumbo
ntp
server 193.190.198.10
server 193.190.198.14
exit
no web-management http
web-management https
no telnet server
enable super-user-password <password>
username icxadmin password <password>
aaa authent login default local
aaa authentic web-server default local
clock timezone europe cet- Save the configuration
end
wr mem- Reboot the switch
end
reload