Configure Cisco AnyConnect with SAML (Azure)
Configure Cisco AnyConnect on Cisco Meraki MX firewall with SAML authentication from Azure
AZURE
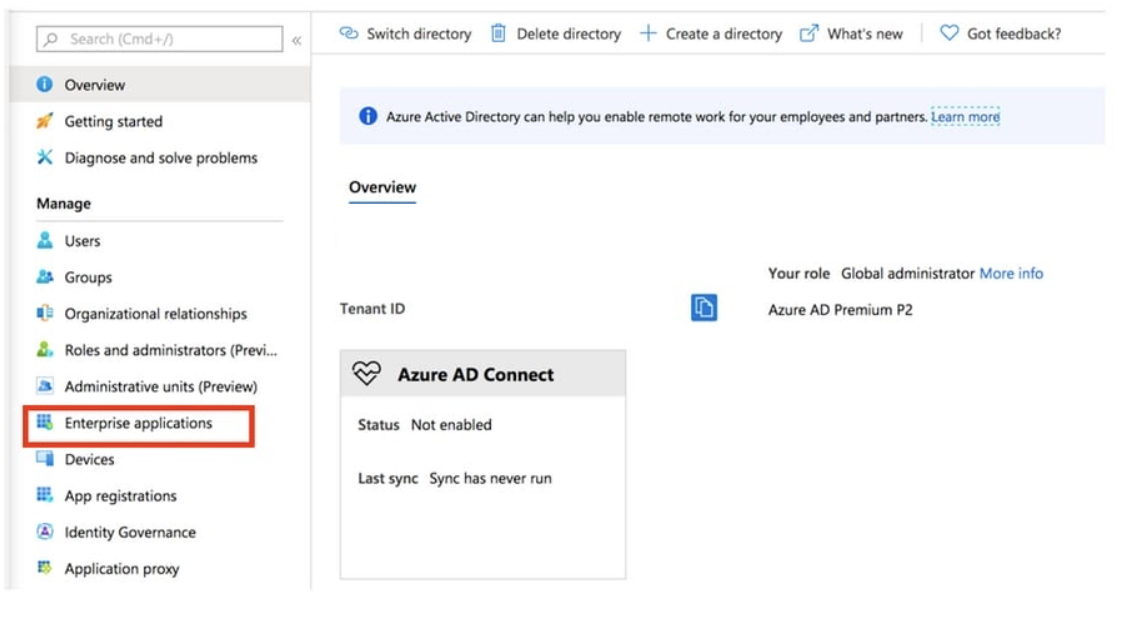
- Log in to Azure Portal and select Azure Active Directory

- Select “Enterprise Applications”

- New Application

- In the Add from the gallery section, type AnyConnect in the search box, select Cisco AnyConnect from the results panel, and then add the app.

- Single Sign On

- SAML

- Edit Section 1

- Identifier (Entity ID) – https://firewallname-qpjgjhmpdh.dynamic-m.com/saml/sp/metadata/SAML
- Reply URL (Assertion Consumer Service URL) – https://firewallname-qpjgjhmpdh.dynamic-m.com/saml/sp/acs
- SAML Signing Certificate, Download Federation Metadata XML file

CISCO MERAKI
- Go to your Network
- Select “Security & SD-WAN” => Configure => Client VPN

- Second tab “AnyConnect Settings”
- Enabled
- Leave the default AnyConnect Port to 443
- Authentication Type => SAML

- AnnyConnect Server URL, same as the hostname but with “https://”

- Upload the Federation Metadata XML file from step 8 in the previous section

ASIGN USERS / GROUP
- Choose left in the menu for “Users and groups” => Add user

- Select “Users and groups”

- Assign

Resources