Productivv

IT | CLOUD | RELIABLE

[500] An error occurred while fetching identity providers.

An error occurred while fetching identity providers.

Error message when trying to log into the vcenter client: [500] An error occurred while fetching identity providers. Try again. If problem persists, contact your administrator”

Enable ssh on the vCenter

  1. Go to https://<ipadress of the vcenter>:5480
  2. Login with the root password
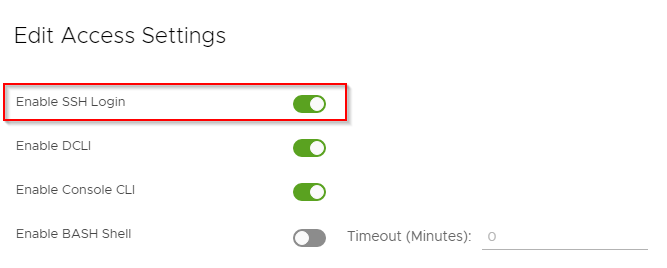
  3. AccessSSH Login
An error occurred while fetching identity providers.

Login with ssh to the vCenter

  1. shell
  2. /usr/lib/vmware-vmca/bin/certificate-manager
  3. 8
  4. N
  5. <Enter>
  6. <Password>
  7. <Enter>
  8. <Enter>
  9. <Enter>
  10. <Enter>
  11. <Enter>
  12. <Enter>
  13. <Enter>
  14. <Enter>
  15. <fqdn of the vCenter>
  16. <Name of the vCenter>
  17. Y
  18. Y

Resources:

Reset All Certificates Using the Certificate Manager (vmware.com)
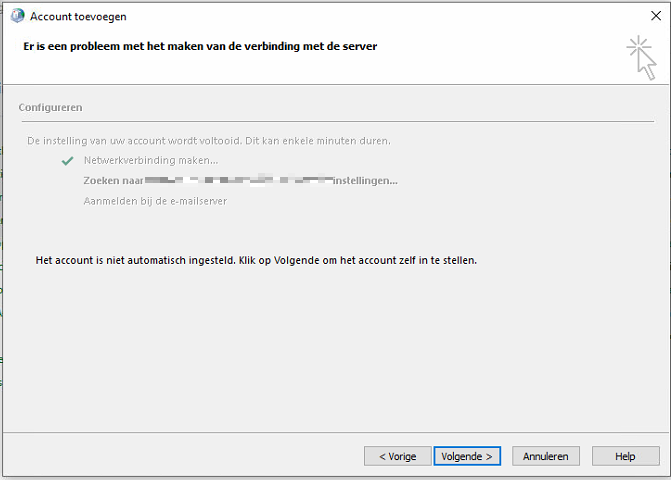
No credential popup during Outlook configuration

While configuring an outlook client, I received the following message and no popup to enter my credentials.

No credential popup during Outlook configuration.

Create two DWORD values at: Computer\HKEY_CURRENT_USER\Software\Microsoft\Office\16.0\Common\Identity

  1. DisableAADWAM => value 1
  2. DisableADALatopWAMOverride => value 1

Intune: Import Administrative Template

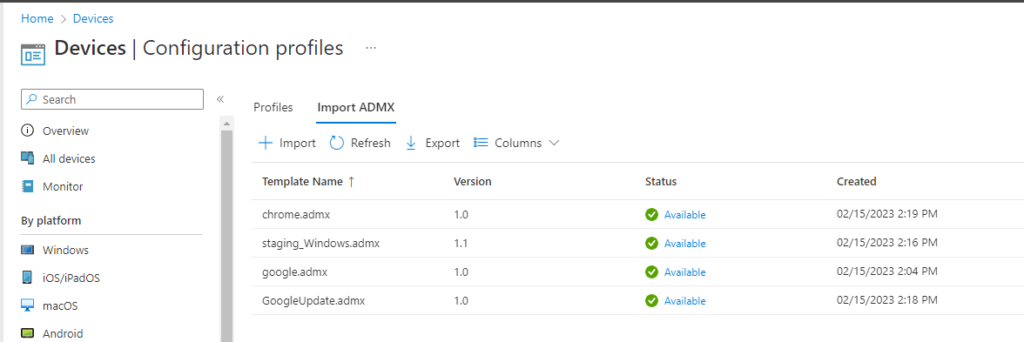
Import administrative templates in Intune.

  1. Surf to: Devices – Microsoft Endpoint Manager admin center
  2. Import
  3. Select the admx and corresponding adml file
Import administrative templates in Intune. - import admx

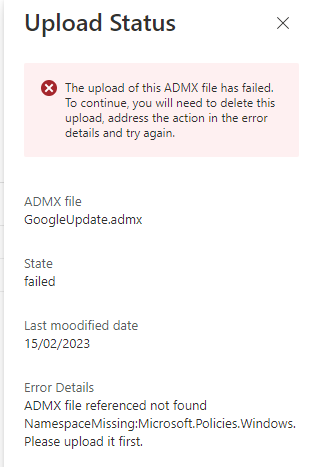
Error: “The upload of this ADMX file has failed. To continue, you will need to delete this upload, address the action in the error details and try again.”

Details: ADMX file referenced not found NamespaceMissing:Microsoft.Polcies.Windows. Please upload first

Import administrative templates in Intune. - error upload
  1. Download the latest Administrative Templates (https://www.microsoft.com/en-us/download/104593)
  2. Open the msi file (for example with 7-zip)
  3. Using the previous steps import windows.admx with the corresponding adml file

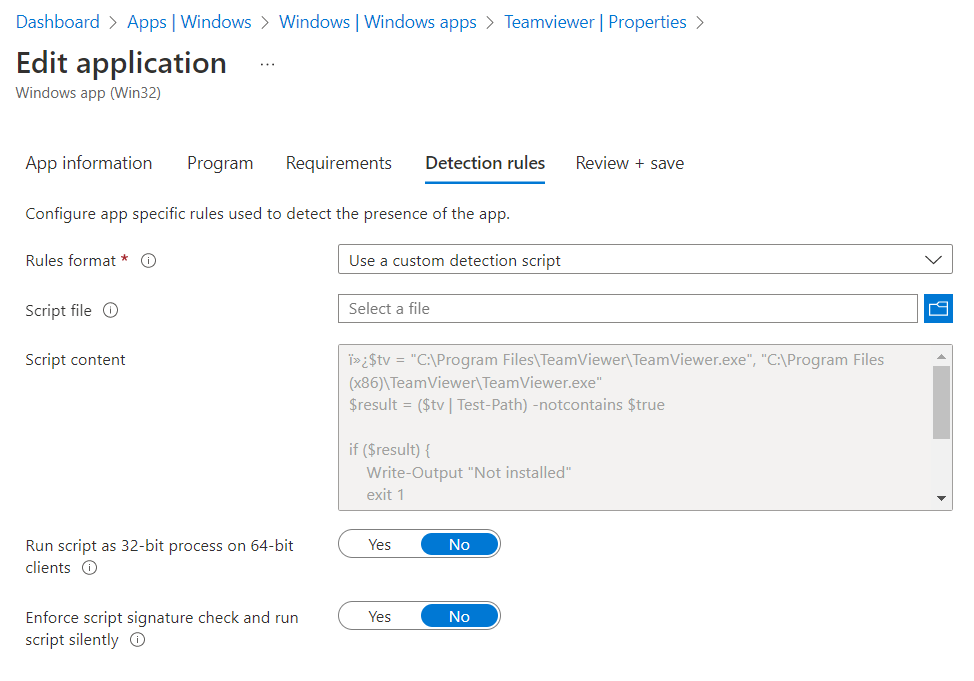
Intune – Use a custom detection script

Because of old installations, TeamViewer is sometimes installed in the 64 bit version and sometimes in the 32 bit version. Since I would like to have a clear overview in Intune, I created the script below.

$tv = "C:\Program Files\TeamViewer\TeamViewer.exe", "C:\Program Files (x86)\TeamViewer\TeamViewer.exe"
$result = ($tv | Test-Path) -notcontains $true

if ($result) {
    Write-Output "Not installed"
    exit 1
}
else {
    write-output "Teamviewer detected, exiting"
    exit 0
}
teamviewer detection script intune

Orca: Office 365 Advanced Threat Protection Settings

ORCA is a project to help Office 365 tenant administrators validate their anti-spam and anti-malware settings against recommendations from Microsoft. ORCA is installed as a PowerShell module with just one cmdlet. After running Get-ORCAReport, you’ll have a report containing recommendations and observations about your configuration.

  1. Login to Exchange online with powershell
  2. Install the Orca module
Install-Module -Name ORCA
  1. Get the Orca report
get-orcareport

Source:

https://www.productivv.be/2022/12/01/powershell-exchange-online-commands/

https://techcommunity.microsoft.com/t5/exchange/use-orca-to-check-office-365-advanced-threat-protection-settings/m-p/1007866

Powershell: Export users from AD to Excel

Export all users from AD from a specific OU (recursive) to Excel

$OU = 'OU=USERS,DC=PRODUCTIVV,DC=LOCAL'
Get-ADUser -Filter * -SearchBase $OU -SearchScope Subtree | Select-object DistinguishedName,Name,UserPrincipalName | export-csv -path c:\temp\userexport.csv

Only enabled users

$OU = 'OU=USERS,DC=PRODUCTIVV,DC=LOCAL'
Get-ADUser -Filter * -SearchBase $OU -SearchScope Subtree | Select-object DistinguishedName,Name,UserPrincipalName,Enabled | Where {$_.Enabled -like "False"} | export-csv -path c:\temp\userexport.csv 

Basic Ruckus switch configuration

In this example, we are going to configure a Ruckus ICX 7150-24.

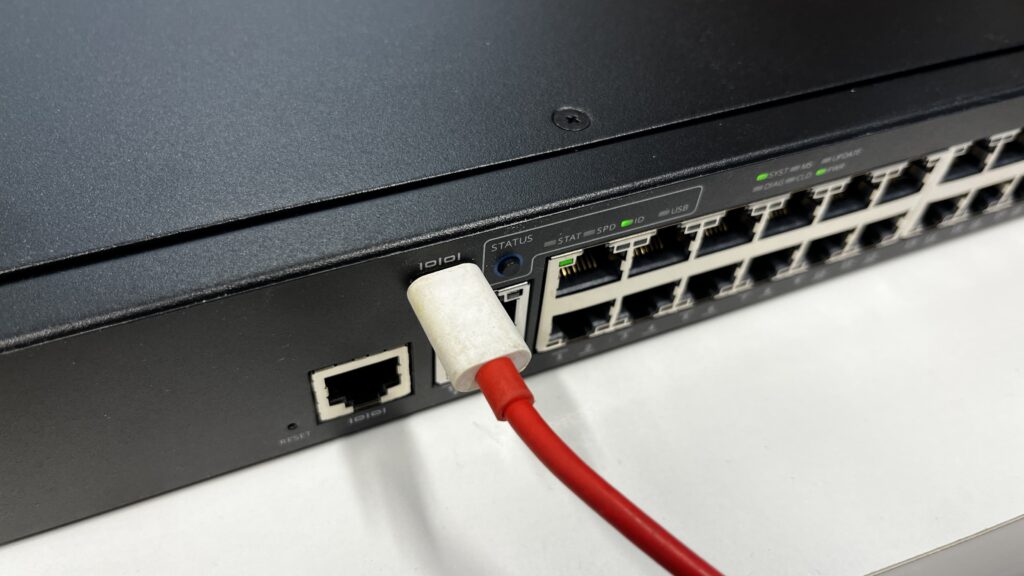
  1. Connect your computer to the switch with the console port
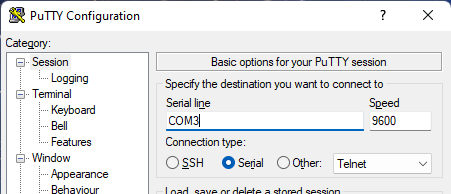
  1. Open Device Manager to look up the COM port number
  1. Open Putty and connect to the assigned COM port
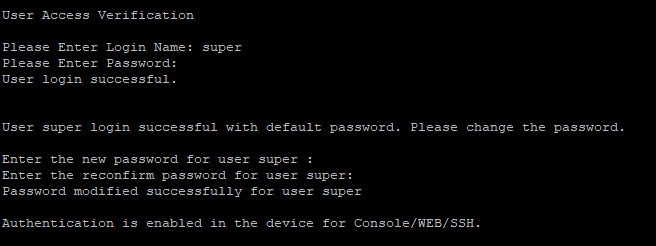
  1. Login with the default username and password (super / sp-admin) and change the default password
  1. Configure the switch with default configuration
enable
conf t
ip address 192.168.1.1/24
ip default-gateway 192.168.1.254
ip dns server-address 192.168.1.10 192.168.1.11
hostname SW1
cdp run
lldp run
jumbo
ntp
server 193.190.198.10
server 193.190.198.14
exit
no web-management http
web-management https
no telnet server
enable super-user-password <password>
username icxadmin password <password>
aaa authent login default local
aaa authentic web-server default local
clock timezone europe cet
  1. Save the configuration
end
wr mem
  1. Reboot the switch
end
reload